
Swimlanes improve Timeline readability by grouping Events into categories. They help users understand key resources' availability, such as Calendars or Application versions, by visually separating Events. Swimlanes types can be customized to suit different needs. In this article, you'll learn how to use, customize, and add Swimlanes to a Timeline, as well as how to adjust Swimlane settings to fit your requirements.
Using Swimlanes
-
Select Swimlane Types: Click the Swimlane Selection (downward arrow under the Quick Filters) Swimlane type.
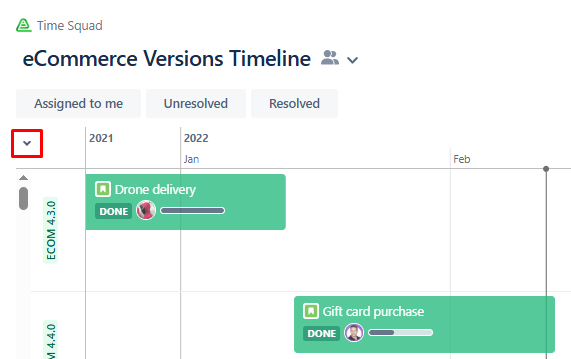
Info
Available Swimlane options depend on your Timeline setup.
Customizing Swimlane Display Settings
Requirements
-
To customize Swimlane settings, you must be Timeline Owner.
Steps
-
Access the Timeline you want to customize.
-
Click the Edit button to enter Edit Mode.
-
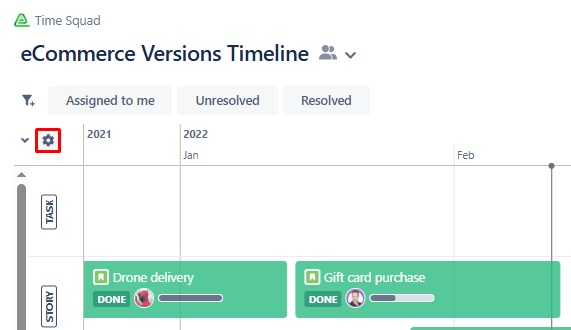
Click the Swimlane Selection (downward arrow) under the Quick Filters.
-
Choose the Swimlane Type you want to customize.
-
Click the gear icon next to the Swimlane Selection to open the Edit Swimlane Configuration dialog.
-
Adjust the settings, such as filtering criteria, grouping and sorting options, or show/hide preferences.
Info
Different Swimlane types offer different settings.
-
Click Done to save the changes.
Adding Swimlanes
Requirements
-
To add more Swimlane types to a Timeline, you must be Timeline Owner.
Steps
-
Access the Timeline you want to modify.
-
Click the Edit button to enter Edit Mode.
-
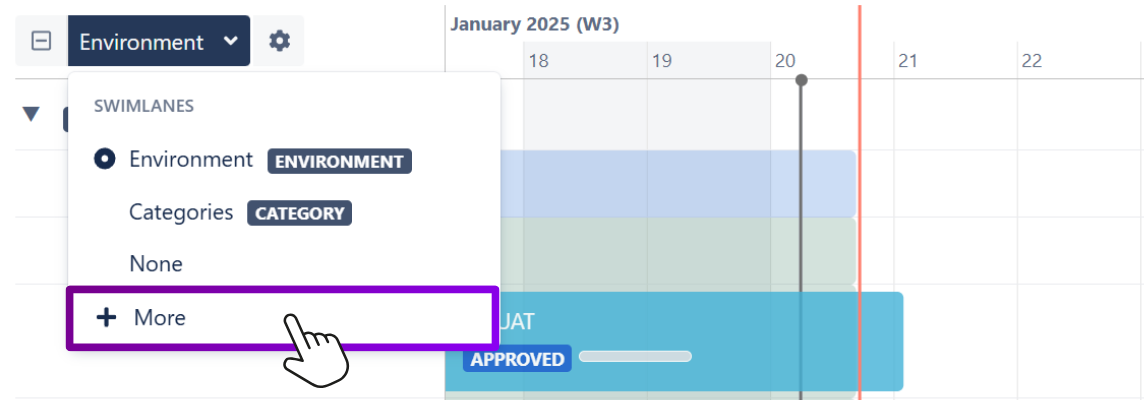
Open the Swimlane Selection menu (next to the Collapse/Expand All button).
-
Click + More and select the desired Swimlane Type (, Version, Calendar).
-
Adjust the settings for the new Swimlane according to your needs.
Info
Different Swimlane types offer different settings.
-
Click Done to save the changes.